This is a complete and detailed guide on How to Customise Your Teamgo Kiosk.
Here you’ll learn everything you need to know about Kiosk customisation including how to create flows, how to add your logo to the Teamgo Kiosk, how to create information fields and much more.
We will keep updating this guide as we make changes to the software so you’ll always have access to the latest information.
These are the fields we’ll cover:
1. What is the Kiosk?
2. How do I get to Kiosk customisation?
3. Creating a new Kiosk
4. Customising your main screen
4.1 Background
4.2 Customising elements
4.3 Adding a new element
5. Creating flows
1. What is a Kiosk?

First things first, what is a Kiosk?
Kiosk is the interface that visitors, employees and contractors interact with to sign in and out. In simpler terms, it is the iPad app.
All components of the Kiosk are highly customisable, so you can make your Kiosk reflect your company, collect necessary information and add safety/compliance layers like induction forms or NDAs.
2. How do I get to Kiosk customisation?
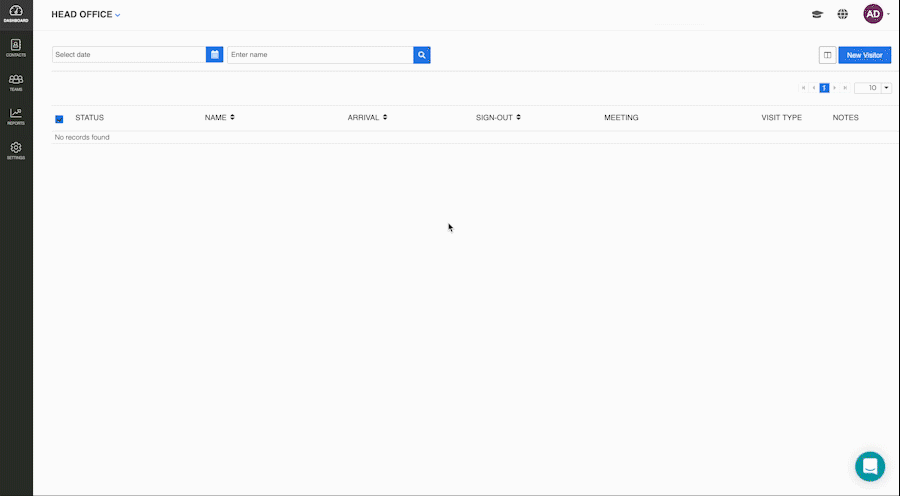
As soon as you log into your Teamgo dashboard, you will see a list of your locations and Kiosks on the home screen.
Here you can choose to modify existing Kiosk by clicking on it, or you can create a new one. Today, we’ll create a new one so you’ll learn how to do it from scratch.
3. Creating a new Kiosk
1. Log into your Teamgo dashboard
2. On your home screen, click Create New Kiosk (if you have multiple locations, make sure to click Create New Kiosk the location’s name)
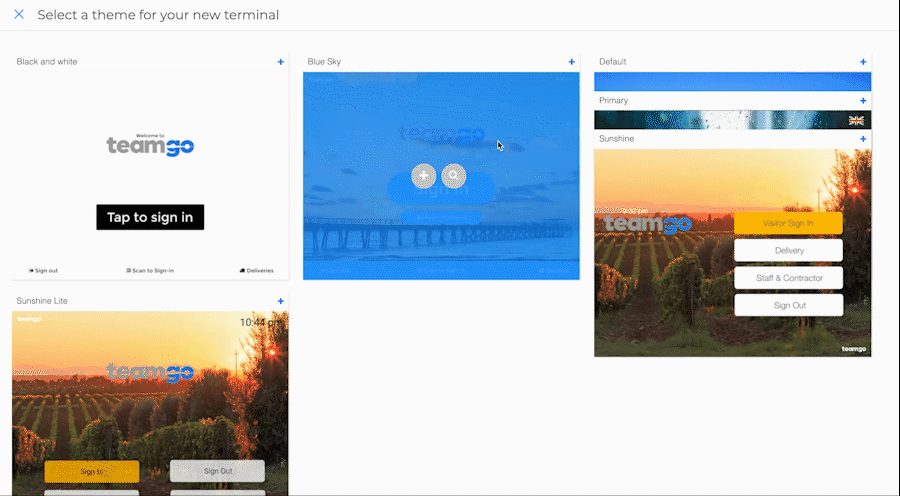
3. Choose your preferred theme
4. Enter a name for the Kiosk. This could be the main entrance, rear entrance or deliveries only, for example.
5. Fill out your Kiok details. Here you can choose:
-
- A default contact, who will be notified if your visitor does not select a host during sign-in.
- An assistance contact, who will be notified if the visitor presses Request Assistance.
- And a delivery contact, who will be notified if a courier doesn’t select a host.
5. When you’re done, click Create Kiosk. This will generate a template Kiosk which you can alter however you like.
4. Customising your main screen
There are four parts to this process: Choosing a background, Customising elements and Changing elements.
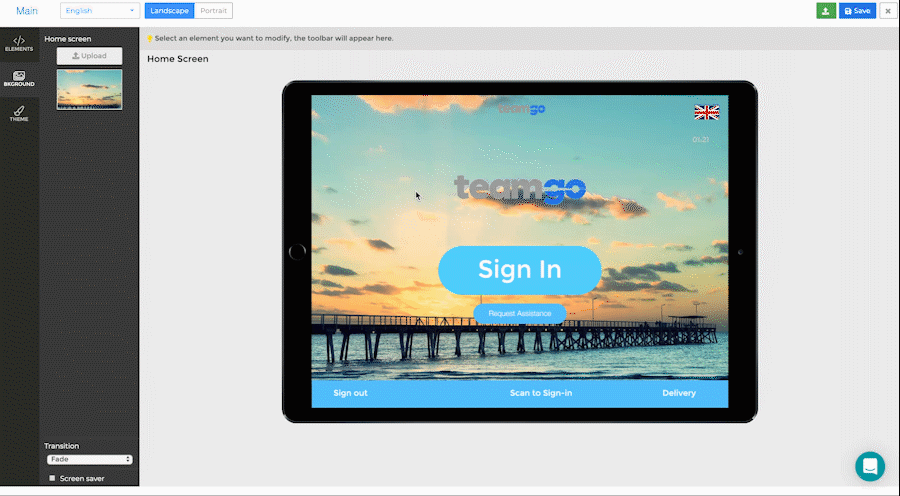
4.1 Choosing a background
Firstly choose whether you’d like your Kiosk to be in portrait or landscape mode at the top right of the page.
Now, let’s look at the Backgrounds, the item on the sidebar.
Here you can choose to use the default background or upload your own image, which might also reflect your company and branding.
You can even choose multiple images, and an animation to transition between them on the background pop-up window.
You can also tick the Screen saver box to choose specific text that will appear on your screen when it’s not being used. For example: Welcome to Teamgo.
Don’t forget to delete any photos you don’t want to appear on your Kiosk by hovering your cursor over it and clicking the Trash can icon.
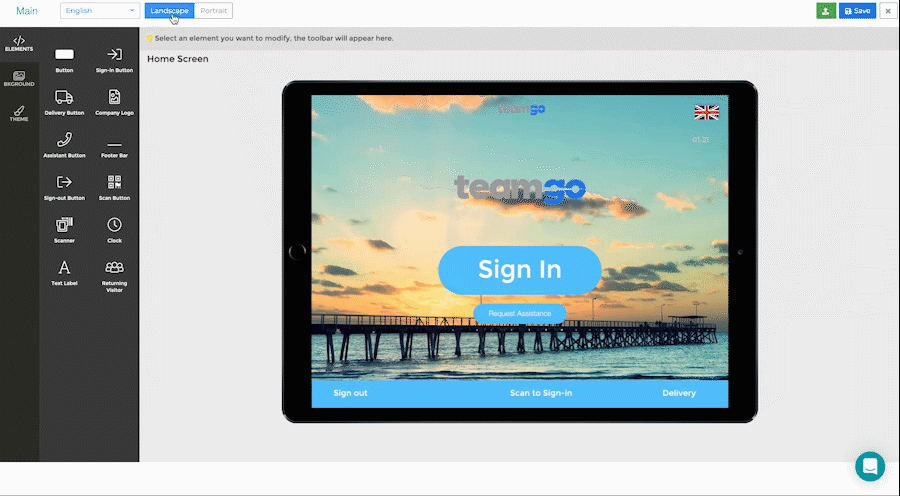
4.2 Customising elements
The next step is choosing which elements will appear on your Teamgo Kiosk.
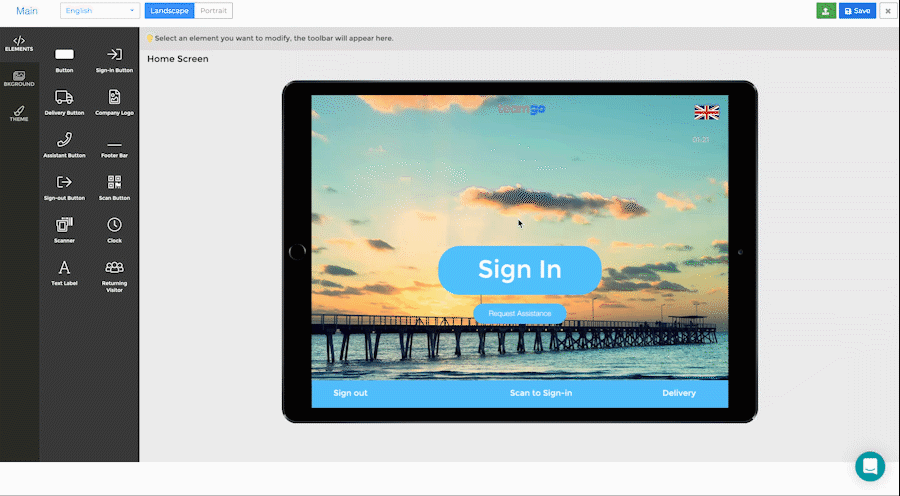
1. As you can see, the theme we chose has already set up a default layout for those elements.
2. To edit an element, click on it and use the toolbar that appears at the top of the page. Each element has different tools such as colour, font, text box and button dimensions.
3. To change the layout of the elements you can use the alignment and size tools or move and scale objects freely.
4. To delete an element, simply select it and press the Trash can icon at the top right of the page.
4.3 Adding a logo
1. To add a logo, go to the Logo option on the sidebar.
2. A pop-up box will appear on your screen.
3. You can either click the box to upload a photo from your computer or drag and drop it in the box. The optimal dimensions are 300×300 pixels.
5. Move and scale it freely or use the toolbar to edit the logo.
4.4 Adding and editing elements
1. As you can see, the theme we chose has already set up a default layout for those elements.
2. You can select the elements on the screen and use the toolbar to edit them. You can change the colour, font, size, dimensions, text and alignment of your elements.
3. To add a new element, click +Add Element on the sidebar.
4. Move and scale your element with your cursor or use the toolbar at the top of the page.
5. Once you’ve added all your elements and most importantly, your buttons, you can move on to creating flows.
5. Creating Flows
The flows are the main feature of the Teamgo Kiosk. A flow is a sequence of screens assigned to a specific button.
Let’s create a flow for the Sign in button so you can have a better idea.
1. Select the Sign in button and then click Manage Sign-in Type, at the top right.
2. Create a unique name for that flow for reporting purposes, such as Visitor Sign-In. Note: this will not change the name of the button on the screen.
3. Click Edit Sign-in Type.
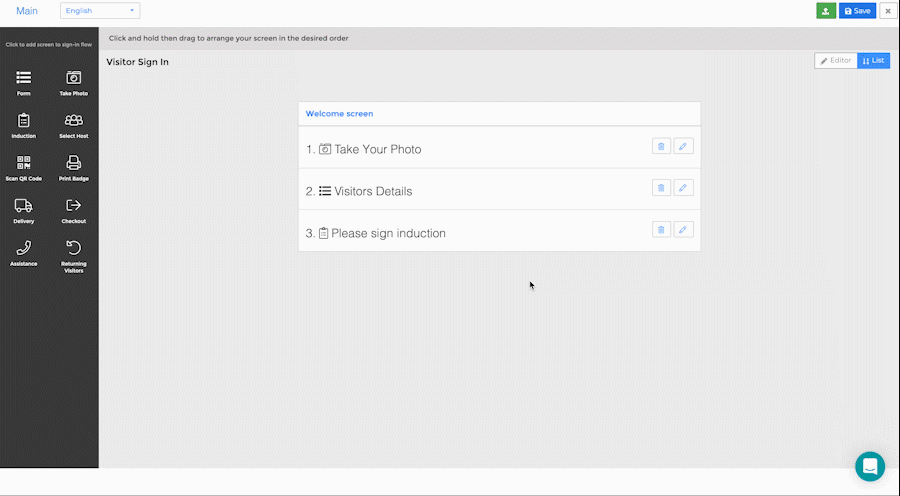
Here you’ll see a list that indicates the default sequence of screens for a Sign-in flow. You can shuffle them around by dragging and dropping each item.

You can also add more items to the list by clicking +Add Screen. Choose screens from the pop-up menu.
To take a closer look at the screens on your list, click the Pencil icon on the right. To go back to the list view, click View Flow at the top right.
In my Sign-in flow, I want the visitor information form to come first. So I’ve shuffled it around to the first position. The order you choose is up to you. However, if you add the Print Badge screen, that will always come last on your flow.
4. Click the pencil icon to edit it.
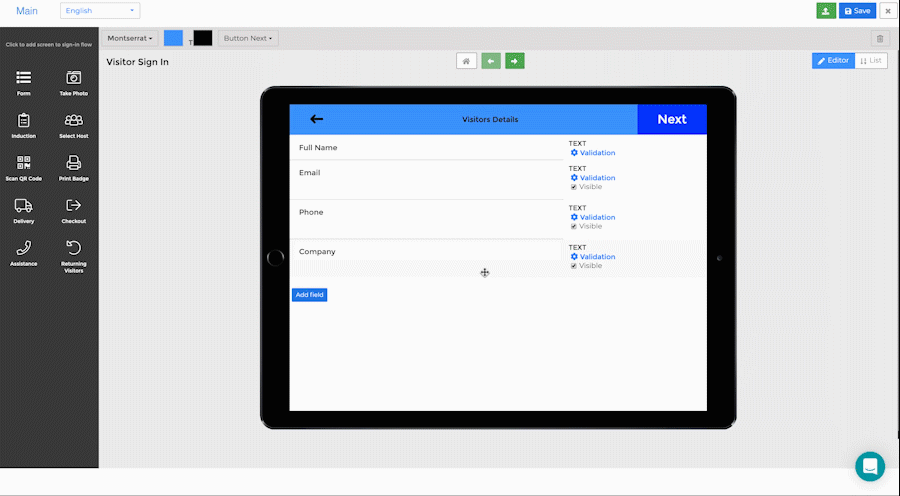
Next to each item on the list of screens, you will a pencil icon and a trash icon. You can edit each of the screens by clicking the pencil item. Each screen will have different customisation options, for example:
- Form screen: you can change the page heading, field names, add new fields and change the design of the button
- Take Photo screen: you can edit the page heading, design of the button, camera options and the camera timer
- Induction screen: you can edit the page heading, the design of the buttons, induction options and edit the induction form
- Select Host screen: you can edit the page heading, the design of the button and host selection options
- Scan QR Code screen: you can edit the page heading and scan options
- Delivery screen: you can edit the page heading and delivery options
- Checkout screen: you can edit the page heading and checkout options
- Assistance screen: you can change the page heading
- Returning Visitors screen: you can change the page heading, the button design and where to redirect users who are not found in the system to
You can combine your screens differently to suit every home screen button and button flow.
Here are some of the possible flows and editing options for them:
Sign in flow
Form screen > Take Photo screen > Host screen > Induction screen > Print Badge
Sign-out flow
Checkout screen or Scan QR Code screen
Delivery flow
Delivery screen
Scan to sign in flow
Scan QR Code screen > Take Photo screen > Print Badge screen
Returning Visitor flow
Returning Visitor item > Take Photo item > Select Host item > Print Badge item
Request assistance flow
Assistance item
Conclusion
So today you learned:
- What a Kiosk is
- How to create a new Kiosk
- How to customise your new Kiosk
- What a flow is
- How to create new flows
- How to customise your flows
Now you should be able to start creating customising your own Teamgo Kiosk.
If you liked this post let us know which was the most helpful part of this guide by tweeting at us here. Or even what you missed from it.